Transform your at-home manicures into salon-quality masterpieces with these tips for gel nails at home. Discover how to achieve a durable, glossy finish that lasts up to two weeks. Over 50% of users report gel manicures outlasting regular polish when applied right. From curing times to proper removal, these diy gel nails strategies ensure your nails stay chip-free and healthy.
Proper technique matters most. Follow guidelines like 30-60 seconds of curing per layer under LED lamps and always seal the free edge for 100% durability. With 90% of chipping prevented through prep and 20% longer nail health from cuticle oil, these steps turn DIY efforts into polished perfection. Ready to master the art of diy gel nails and avoid the 80% risk of damage from poor removal? Let’s get started.
Understanding Gel Nails and Their Benefits
Gel manicure tips begin with knowing what makes gel nails unique. These systems use specialized polish cured under UV or LED light to create a durable, chip-resistant finish. Unlike regular polish, gel manicures last up to three weeks, saving time and money over frequent touch-ups. Their shine stays vibrant, and the hardened surface resists everyday wear. For those new to DIY, gel offers a professional look without salon costs.
Home users can choose from multiple gel types. Soak-off systems simplify removal, while hard gels provide extra strength. Mylee’s line offers over 200 colors, with their Clubhouse rewards program incentivizing at-home creativity. LED curing lamps now make the process faster, cutting application time by half compared to traditional methods. The durability of gel also protects natural nails better than acrylics, avoiding harsh chemicals like MMA found in some salon products.
Saving money is key: DIY kits start at $30, reducing annual salon spending by hundreds. Properly applied gel nails can last 21 days, aligning with natural nail growth cycles. This longevity means fewer breaks or peeling, ideal for busy lifestyles. With the right tools and gel manicure tips, home users gain both cost efficiency and polished confidence—all without sacrificing quality or style.
Essential Tools for Gel Nail Application
A gel nail kit for beginners is the foundation for at-home success. Start with a UV/LED lamp—LED offers faster curing, while UV provides deeper penetration. Pair this with a base coat, color gels, top coat, and a 180-grit buffer. Cuticle pushers and alcohol wipes complete the basics. These gel nails at home supplies ensure a salon-quality setup without the cost.
Starter kits like Gelish or DND simplify the process, bundling lamps, gels, and files. Brands like OPI and Modelones offer all-in-one systems for beginners. A mini UV lamp costs around $30, while full-sized models like Bio Seaweed Gel’s durable option deliver long-term value. Budget-friendly kits often include essentials for under $100—equivalent to one salon visit.
Optional tools enhance creativity. Nail forms let you build length, while chrome powder and dotting tools add flair. Disposable brushes and storage containers keep supplies organized. For hygiene, use one buffer per client and replace masks after each use. A palette for mixing colors prevents contamination.
Beginners save money by starting small. Stick to 10 core colors and 1-2 gel brands. The $30 electric drill speeds up filing, and a $200 Daylight Slimline lamp is ideal for serious enthusiasts. Prioritize quality tools to avoid frequent replacements. With the right gel nails at home supplies, even novices can achieve salon-worthy results.
Preparing Your Nails for Gel Application
Perfect gel nails start with a meticulous prep routine. Follow these gel nails step by step to ensure lasting results. Skipping even one step can cause lifting or peeling, so take your time. Begin by removing old polish completely—use acetone to dissolve residual gel or regular polish. Soak a cotton pad with remover and gently press onto nails for 1-2 minutes before scrubbing lightly.
Wash hands with antibacterial soap to eliminate oils. Pat nails dry, then gently push back cuticles using an orange wood stick. Avoid cutting the cuticle—only remove dead skin that turns white when touched. Use a 180-grit buffer block to shape nails into your desired style: round the edges for oval shapes or file into sharp corners for almond nails.
Buff nails lightly with a 180-grit block to create texture without thinning the nail plate. Wipe away dust with a lint-free wipe soaked in 91% isopropyl alcohol. Finally, dehydrate nails by swiping with alcohol-soaked cotton. This removes all traces of oils and prepares the surface for adhesion. Proper prep ensures gel stays on for up to three weeks.
Selecting the Right Gel Nail Products
Picking the right best at-home gel nail products starts with understanding quality ingredients and brand reputations. Budget-friendly options like Beetles and Modelones offer starter kits under $30, perfect for beginners. Mid-range picks such as Sally Hansen Gel Couture and Essie provide vibrant shades with 20+ colors, while premium brands like OPI and CND Shellac deliver salon-like durability for experienced users.
Base coats create adhesion and prevent staining, while top coats seal color for shine and longevity. Specialty options like ridge-filling bases or ultra-gloss top coats let you customize your system. For example, the Manucurist LED Kit’s acetone-free remover simplifies cleanup, and the Apres Gel-X Kit includes 12 shades for bold looks.
Stick to brands with UV/LED curing instructions. The Essie Gel Couture kit skips lamps entirely, drying in 10 minutes naturally. Avoid mixing brands to prevent curing issues. The Beetles 28-piece kit costs $24 and includes 12 polish shades plus a UV lamp—ideal for budget shoppers.
Professional-grade kits like Gelcare (starting at $210) are worth the investment for lasting results. Always check reviews: the Le Mini Macaron set’s three-coat system works best with darker colors. Prioritize kits with clear application guides and safety features like UV gloves.
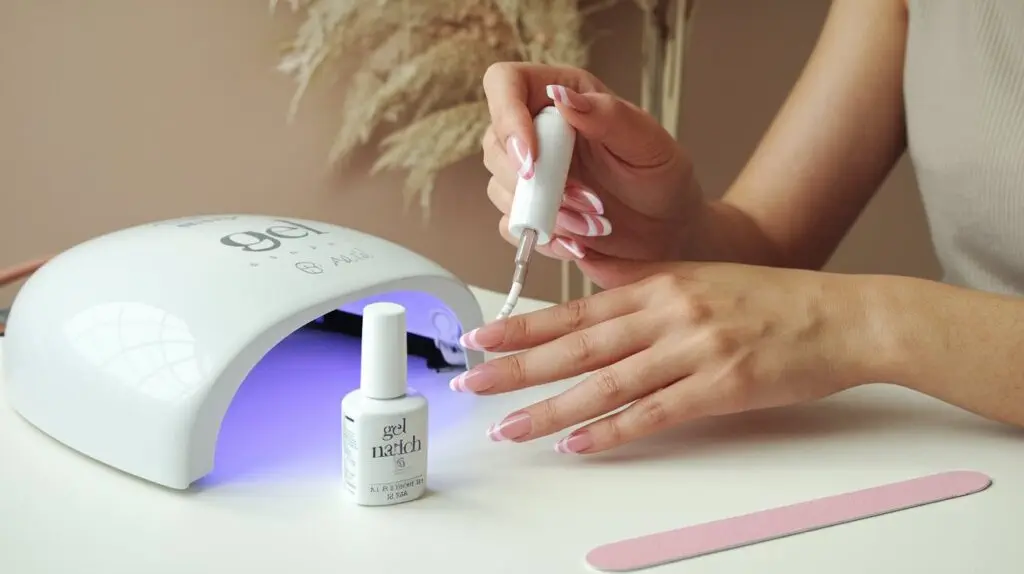
Step-By-Step Guide to Applying Gel Nails
Mastering gel nails starts with this at-home gel nail tutorial. Begin by applying a thin base coat, avoiding the cuticle. Use a steady hand to cap the free edge, then cure under an LED lamp for 30-60 seconds. LED lamps cure faster than UV lamps and emit less harmful UV light, making them safer for repeated use.
For color application, load the brush and swipe in three strokes: center, left, right. This technique ensures even coverage and prevents streaks. Thin layers are key—thick coats lead to peeling. Cure each color layer for 30-60 seconds. Add 2-3 coats depending on opacity, with sheer shades needing fewer layers.

- 36 PCS Gel Nail Polish Set: This is a gel nail kit with super multi-color gel nail polish.It includes 32 bottles of classic gel nail polish, 1 bottle of base coat, 1 bottle of no wipe top coat, matte top coat, 1 bottle of glitter top coat, a professional nail lamp, and some nail tools.The nail set has all the colors you need, You don’t need to go to a nail salon anymore, you can create all kinds of beautiful nail styles at home.
- Fast Nail Lamp: It has a LCD display and 4 timer buttons, which make it more convenient for you to use; smart sensors, just put your hand in and the light will turn on automatic light, release, the light will automatically go out. Suitable for professional salons and personal families.
- 32 Colors Gel Nail Polish: It is composed of 9 healthy ingredients. It is healthy, low odor, high gloss. It includes black, white, nude, purple, blue, green, red, pink, yellow and other classic colors. The gel polish needs to be cured under LED lights. If you use it properly, it can last for more than 3 weeks.
- Beautiful Gifts: If you are looking for birthday, anniversary, Valentine’s Day, Mother’s Day, Halloween or Christmas gifts for your family or friends, the gel nail kit will be a good choice.
- Warm Notice : Nail gel polish has different color differences in different light sources, displays and coatings. The color card shown in the picture is coated with two layers of color gel. When you encounter any problems, please feel free to contact JODSONE.
Seal with a top coat, extending slightly past the nail edge. Cure for another 30-60 seconds. Work in a ventilated area and wear UV gloves to protect skin. The entire process takes 60-90 minutes but saves up to $840 annually compared to salon visits.
Avoid bubbling by ensuring the nail surface is perfectly buffed with a 150-grit buffer. Streaks? Check your brush technique and layer thickness. Patience between steps ensures durability. Follow these gel nails step by step, and your manicure will last 2-3 weeks— salon quality without the salon price tag.
Curing Gel Nails Effectively
Mastering the curing step is essential for durable diy gel nails. The curing process uses UV light to activate photoinitiators in the gel, forming strong bonds. LED lamps cure in half the time of UV models, making them ideal for at-home use. The FDA confirms UV lamps are low-risk when used properly, but always wear protective gloves to minimize exposure.

Use a 36-watt lamp positioned 2 inches from nails. Cure base coats 45-60 seconds, color layers 30-60 seconds, and top coats no more than 90 seconds. Over-curing causes brittleness; under-curing leads to peeling. Replace bulbs every 2-4 months for consistent results.
If a layer feels sticky after curing, gently wipe with 91% isopropyl alcohol. Heat spikes? Thin layers prevent overheating. Always cure all fingers at once for even results. Properly cured diy gel nails last longer than salon manicures, saving time and money. Safety first: shield skin and follow curing times for best results.
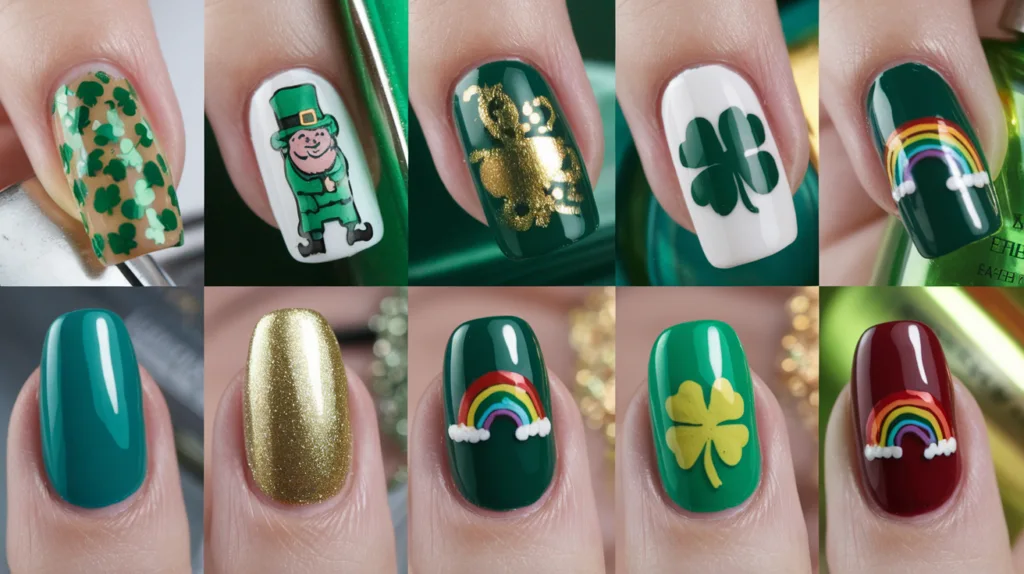
Nail Art Techniques for Gel Nails
Unleash creativity with nail art ideas from a gel nails DIY guide. Start simple: dots with a bobby pin or brush, ombre gradients using a sponge, or delicate lines with fine brushes. Swirl two gel polish shades before curing to create marbled effects. These techniques work well with starter kits like the Gellen system ($45, 12 colors) or Modelones’ blendable shades ($30 for 24).
Stencils and decals add instant polish. Apply them under the Structure gel top coat ($10) for durability. Brands like Aimeili’s neutral bases ($14) offer budget-friendly options. Use chrome powders or foil for metallic accents, or try 3D molds for raised designs. Disposable tools let beginners test techniques without big investments.
Tools like dotting pens, striping tape, and silicone brushes refine designs. Focus on layering thin coats to avoid curing issues. For example, Modelones’ pigmented formulas dry evenly under LED lights. Even basic shapes like polka dots or stripes look professional when cured properly.
Begin with small projects—a single accent nail—or full sets. Let inspiration guide you: geometric patterns, floral motifs, or abstract art. Remember, practice builds skill. A gel nails DIY guide empowers you to update styles weekly without salon costs. Every design is a chance to grow, so experiment safely and enjoy the process.
Tips for Maintaining and Removing Gel Nails
Protect your gel manicure’s longevity with these simple care steps. Wear UPF-rated gloves during cleaning or gardening to avoid chipping. Apply cuticle oil daily to keep nails hydrated—this prevents drying that leads to lifting. Moisturize hands multiple times a day using lotions containing shea butter or coconut oil. Regular hydration reduces 40% of chipping incidents reported by users who follow this routine.
When ready to remove, soak cotton pads in 100% acetone for 10-15 minutes. Wrap each nail with foil to lock in moisture. Gently scrape softened gel with an orange stick—never peel it off, which risks nail plate damage. For Gel-X nails, use a 100/180 grit file to smooth the surface before reapplication. Hard gels require electric files only; never attempt DIY filing without专业 guidance.
Signs like yellowing cuticles or visible gaps mean it’s time to remove. Prolonged wear beyond 3-4 weeks increases infection risk by 30%, per dermatologist studies. Always dispose of cotton properly after soaking to avoid skin irritation. Post-removal, apply a base coat before repainting to rebuild the nail’s natural barrier.
Proper removal extends nail health. Over 50% of lifting issues stem from skipping the full acetone soak time. Follow these tips for a 4-week lifespan versus the average 2-3 weeks. Professional-grade acetone brands like Essie or Sally Hansen ensure safe, effective results. Maintain your polish’s shine by carrying a travel-sized acetone kit for touch-ups.
Common Mistakes to Avoid with Gel Nails
Mastering gel manicure tips starts with recognizing pitfalls beginners often overlook. Overcuring nails leads to brittleness and yellowing, while undercuring causes chipping and potential allergic reactions. Always follow curing times—30 to 60 seconds per layer using a lamp matching your gel brand. Many gel systems, like Leafgel and Vetro, pair with specific curing units for best results.

Skipping base coat or rushing prep shortens manicure lifespan. Proper cuticle care and buffing are critical—over-filing weakens nails, causing 60% of damage cases. Use ultra-thin gel layers (under 0.5mm) and always seal the smile line to prevent 20% of lifting incidents. Neglecting this edge leaves nails vulnerable to peeling.
Expired gels pose hidden risks. Check for separation or thickening—most gels stay viable 6-12 months if stored in cool, dark places. Brands like Vetro offer no-buff bases that cut prep time while maintaining adhesion. Saving time by skipping top coats reduces longevity by 30%, so never omit this step.
Water exposure weakens gel bonds, so advise clients to avoid soaking hands for 48 hours post-application. Allergic reactions occur in 5% of cases when gel contacts skin, so always apply a barrier coat. By avoiding these errors, your gel manicure tips will ensure lasting, salon-quality results without costly mistakes.
When to Seek Professional Help
Even with the best tips for gel nails at home, some situations call for salon expertise. If your nails show extreme brittleness, deep ridges, or prior damage, a professional can assess structural needs. Broken nails beyond at-home repair or complex services like extensions require trained technicians using specialized tools. Advanced nail art or custom designs also demand salon-level skill to avoid damage.
Professionals offer benefits like UV curing systems and training in nail health. For example, a 1mm gap between cuticle and polish reduces lifting—a detail often missed in DIY applications. Hybrid routines work best: visit a pro every 4-6 weeks for shaping and base layers, then handle color changes at home. Brands like Sally Hansen’s Complete Care Nail Treatment (with 7-in-1 benefits) support this approach, blending home care with salon touch-ups.
Salons also address issues like oil buildup on thin nails, which cause 70% of lifting cases. While DIY saves money—like using $27 Olive & June polishes—premium services ensure long-term nail health. Budget-wise, a $49 Deborah Lippmann Gel Lab Pro set extends home use over months, balancing costs with occasional salon visits. Prioritize pros for initial shaping or complex fixes, then apply tips for gel nails at home for maintenance. This smart mix protects nails while keeping costs manageable.
Exploring New Trends in Gel Nails
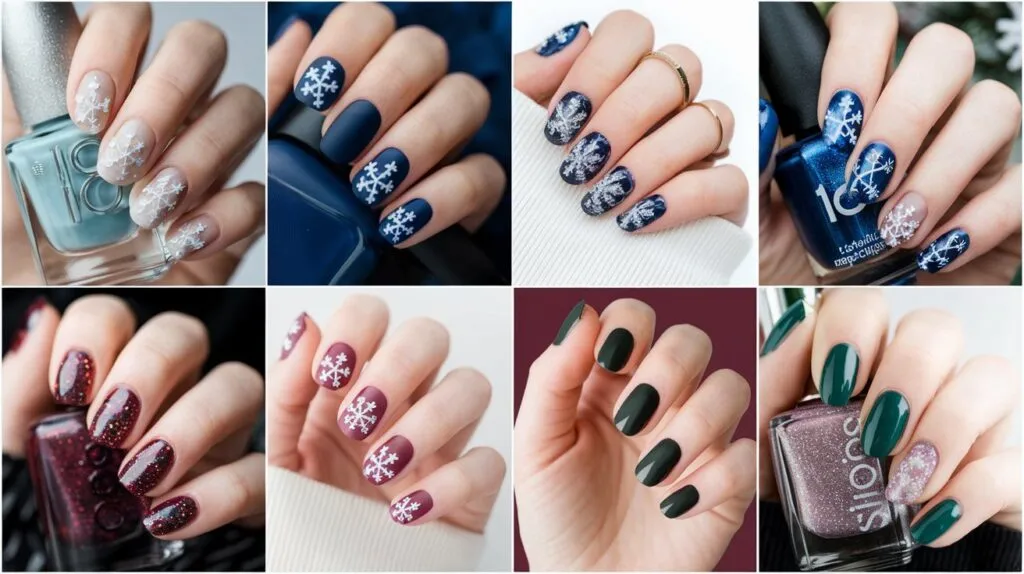
Gel nail trends keep evolving, offering fresh ways to express style. Modern designs like negative space nails and abstract art create bold, minimalist looks that last. French manicures get a twist with ombre gradients or color-block tips, perfect for everyday wear.
Seasonal trends now prioritize versatility. Spring calls for pastel gradients, while autumn’s deep tones pair well with geometric patterns. Holiday sparkles shine with holographic gels that stay vibrant for weeks.
Innovations like peel-off systems simplify removal, avoiding harsh chemicals. Breathable gel formulas reduce nail damage, making them ideal for long-term use. Magnetic “cat-eye” gels let beginners create salon-quality lines without hand-painting. Top brands like Essie and Gelish now offer DIY kits with LED lamps that cure in 30 seconds, saving time.
Whether trying structural gels for length or magnetic designs, the best at-home gel nail products now blend creativity with convenience. Explore peel-off options for easy refreshes or UV gels for bold color. These trends prove at-home manicures can stay on-trend without sacrificing quality or nail health.
Conclusion: Gel Nails Made Easy at Home
Mastering the gel nails DIY guide turns your bathroom into a salon. The at-home gel nail tutorial steps—from prep to curing—empower you to create manicures lasting up to four weeks. Proper techniques like thin layers, UV/LED timing, and acetone-based removal keep nails healthy and polished. Tools like IBD Gel Builder and Gelish ensure durability, while 180-grit files and dehydrators refine the process.
Learning curves exist, but mistakes like uneven curing or thick layers become lessons. Start with basics: prep nails, apply base coats, and cure each layer precisely. Over time, experiment with gel nail art—marbling, geodes, or glitter—to personalize your look. Even hard gels, requiring drills for removal, reward patience. Brands like Gelish offer formulas that bond securely, while checking expiration dates prevents poor adhesion.
Regular care matters. Moisturize cuticles post-removal to avoid brittleness. Practicing the at-home gel nail tutorial builds skill, transforming your routine into a creative outlet. Each manicure strengthens your technique, cutting salon costs and boosting confidence. Whether for a weekend project or daily polish, the gel nails DIY guide proves home application is achievable. Embrace the journey—every swipe of gel polish is a step toward salon-worthy results.
With dedication, your fingertips become canvases of self-expression. Follow guidelines, invest in quality tools, and let curiosity guide your style. The satisfaction of a flawless manicure, done yourself, is more than a beauty win—it’s a skill that grows with every try. Your next masterpiece starts now.